
RETECHNOLOGY PREMIUM MARKETPLACE RELATED PRODUCTS | WEBINARS | SPECIAL OFFERS


You are viewing our site as a Broker, Switch Your View:
Agent | Broker Reset Filters to Default Back to ListThe Step-by-Step on How to Create a Buyer Tour Report with RPR
December 06 2018
 Delivering a successful showing experience for your buyers doesn't happen by itself, it comes from great planning. And a variety of those details have nothing to do with the properties you'll end up showing that day, but that's for another article.
Today we're going to walk through the specifics for creating a buyer tour using the RPR app. The output is a detailed, yet simple to read, report showcasing each property.
- TIP: The Buyer Tour Report is only available from the RPR app at this time. To try it for yourself, make sure your app is updated to the most current version.
The process of creating an RPR Buyer Tour Report is comprised of five steps, which begin with a tap on the Reports button located on the lower left side of the app's homescreen.
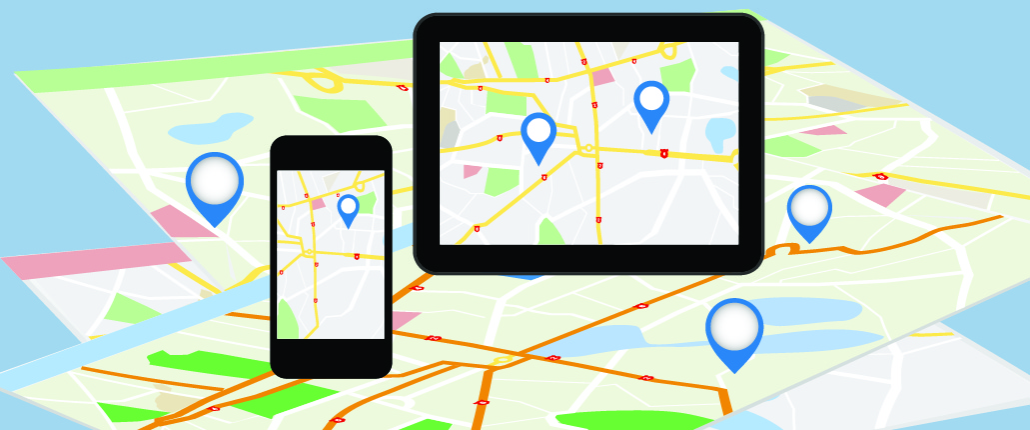
From the list of reports, choose Create Buyer Tour, which immediately opens a map and uses your location as a center point. Simply pinch and zoom the map with your fingers to move areas and zero in on the correct location of your tour. Use the Draw button on the right side of the map to draw a search shape.
If you're seeing too many properties on the screen, tap Filter to restrict the search to specific property statuses, property types, basic property characteristics, price ranges, and more.
Once the map shows the correct neighborhood, tap on a map pin to see the property details and select Add to Tour. Or try switching over to List view, where you'll see each property in a scrollable list. This makes viewing each home photo and basic characteristics a snap. When you've added all of your properties to the tour, tap Next.
- TIP: Add properties to the tour in an order you would like them to appear.
On step three, confirm the properties showing in your preferred order. To optimize the driving route, use the dropdown at the top of each property and reorder. Choose Next when complete.
On step four, choose whether to customize your report. By default, the report includes a map of selected properties on the its cover page, a side-by-side view of included properties, and a detailed page for each property. Each page will be included. To remove a section, tap Yes and options will appear to adjust.
Step five means you're almost done. Simply choose how you want the report delivered, either as a downloadable PDF or as an email. Keep in mind, if you choose Download, it will be saved in your recently created reports for 30 days. From there you can easily text or share the report as needed.
Let us know how you're using this latest feature in your market.
To view the original article, visit the RPR blog.