
RETECHNOLOGY PREMIUM MARKETPLACE RELATED PRODUCTS | WEBINARS | SPECIAL OFFERS


You are viewing our site as an Agent, Switch Your View:
Agent | Broker Reset Filters to Default Back to List5 Best Photo Tips for Real Estate Agents
December 27 2022
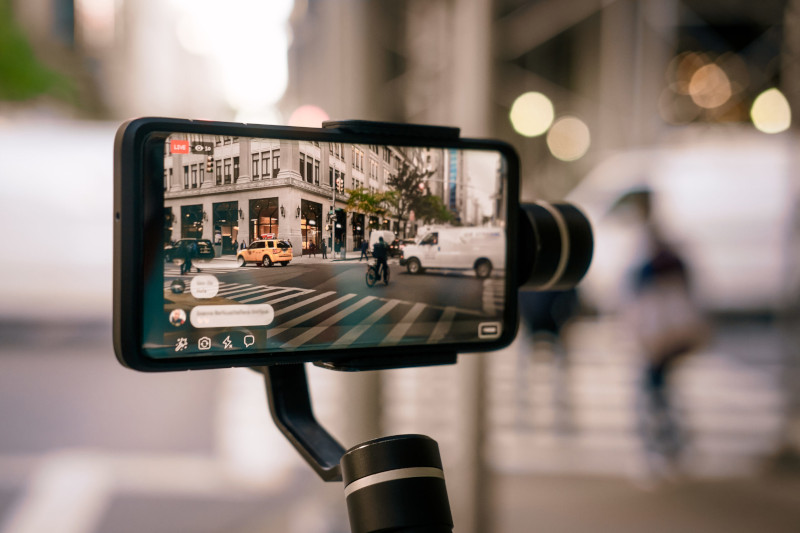 Since the launch of the first iPhone over 15 years ago, real estate agents have been carrying a powerful camera in their pockets and purses.
Fast-forward to 2022, and the new iPhone 14 Pro Max has one of the most powerful cameras and imaging software available in a mobile device, featuring built-in multiple lenses. Its specifications read like something you would find in a professional, standalone camera, with three fixed lenses that create an additional 2x telephoto, expanding zoom options to 0.5x, 1x, 2x, and 3x. And the latest Google Pixel phone features 50-megapixel primary camera sensors backed by 12-megapixel ultrawide lenses.
While mobile phone technology empowers agents to create outstanding photos, the first question agents face about listing photography is whether they should take the photos themselves.
Industry experts, by and large, say no. Instead, they recommend hiring a professional real estate photographer for almost every listing.
Why?
A preponderance of research documents the benefits of professionally shot listings, selling 32% faster. With 3D tours, properties sell more quickly and at a higher price. And MLS research shows properties with aerial photography sell about 68% faster than homes using standard photographs.
However, many agents believe their photography stacks up against their competition and remain committed to taking their own listing photos.
If you are determined to take the do-it-yourself route for listing photos, here are five tips the experts recommended you need to know:
1. Less is more
Clutter is the enemy of a great listing photo. It makes even huge rooms look smaller. It also is distracting: a wayward child or pet toy draws attention to the wrong things. Giving furniture spacing is essential. Thinning out a room can make your photos, excuse the pun, cut through the clutter.
2. Let there be light
Turn off the ceiling fans and turn on all the lights. Make sure you replace any burnt-out bulbs. Open all shutters and shades to let in as much sunlight as possible. Getting as much light into any room will help make colors pop and achieve crystal-clear high-resolution photos. Even if the camera on your phone does well in low-light conditions, it will do even better when everything is in bright light. You also can use natural light to your advantage, as long as you time your shots during the golden hours: just before sunset and right after sunrise.
3. Stay horizontal
Unless you are shooting specifically for social media use or solely for mobile display, it's best for listing photos to be shot in a landscape format, avoiding portrait (vertical) shots. When buyers search online and go through the couple of dozen listing photos that you post to a gallery, if a vertical image is mixed in, it breaks the flow. Horizontal photos also help you collect more detail. In addition, it's how buyers will see the property in person. Finally, ensure your images are straight by using a tripod that keeps your phone steady for each shot. Keep an eye out for the line of sight through windows to make certain features in the distance are at framed level too.
4. Keep it simple
Make sure your settings are clean and straightforward and not over-staged. Also, the massive new capabilities of the new smartphone cameras may tempt you to experiment and take photos that may look cool on your phone but not on a large display screen. For example, some new low-light photos can look impressive at first until you enlarge them, as they appear fuzzy or blurred. Or you may be attempting to shoot a small extra bathroom with a wide angle setting to squeeze everything into a single photo. But that can cause distortion or unrealistic proportions, disappointing visiting buyers. Instead, eye each room as if you are a buyer. What is the best feature in the room to put as the core focus of the photo? Look at professional real estate photography, mimic how they frame listing pictures for each room and keep every setting simple. That's what you want to replicate.
5. Image correction
It's likely some of your photos will need correction. But remember that all your photos should accurately convey what the consumer will see when they visit in person. While photos should showcase a property's best features, they should never mislead or deceive. Making sure the green grass shows the right shade of green and the blue skies are blue are acceptable adjustments you can make with almost any photo editing software.
If you have questions about the camera on your smartphone, contact a Tech Helpline analyst with your questions, as they are just a call or click away!
On the go? Take us with you! Download the mobile app today.
Like this article? Check out these others:
- Cool tools and hot hacks for photos every agent will love!
- Using OneDrive: 5 Tips for storing and sharing photos, videos and docs online.
- Photos too large for upload? Take these simple steps to resize them.
To view the original article, visit the Tech Helpline blog.