
RETECHNOLOGY PREMIUM MARKETPLACE RELATED PRODUCTS | WEBINARS | SPECIAL OFFERS


You are viewing our site as a Broker, Switch Your View:
Agent | Broker Reset Filters to Default Back to ListGoogle Search Console and Your Real Estate Site: Part 1
May 01 2020
We get asked about SEO... a lot. What can I do to boost it? How do I know where I rank? Anything I can do for free? The answer to all these questions (and more) can be found with Google Search Console. Of course, there are no magical, overnight SEO fixes. But Search Console is free, it offers a ton of crucial information about your site, and it's a basic, user-friendly tool you should have in your SEO toolkit. We use it every day!
So, if you're interested in improving your real estate site's appearance in Google Search results, and you have a little time to learn about search engine optimization (which we know you do), then this blog post is for you!
To utilize Google Search Console, you don't need to understand HTML or coding, you simply need to spend some time thinking about how your site is organized and written, and you must be willing to make some changes. The good news is that a little effort can go a long way in improving your search results. So, let's get started!
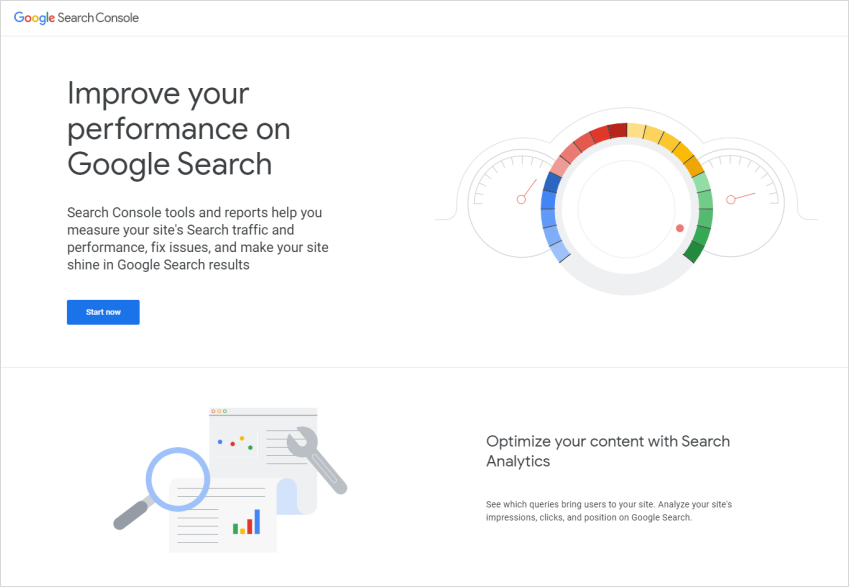
First, what is Google Search Console?
Google Search Console is a free suite of tools that helps you monitor, maintain, and troubleshoot how your site performs in Google Search results.
Search Console offers tools and reports to:
- Confirm Google can find and crawl your site.
- Fix indexing problems and request re-indexing of new or updated content.
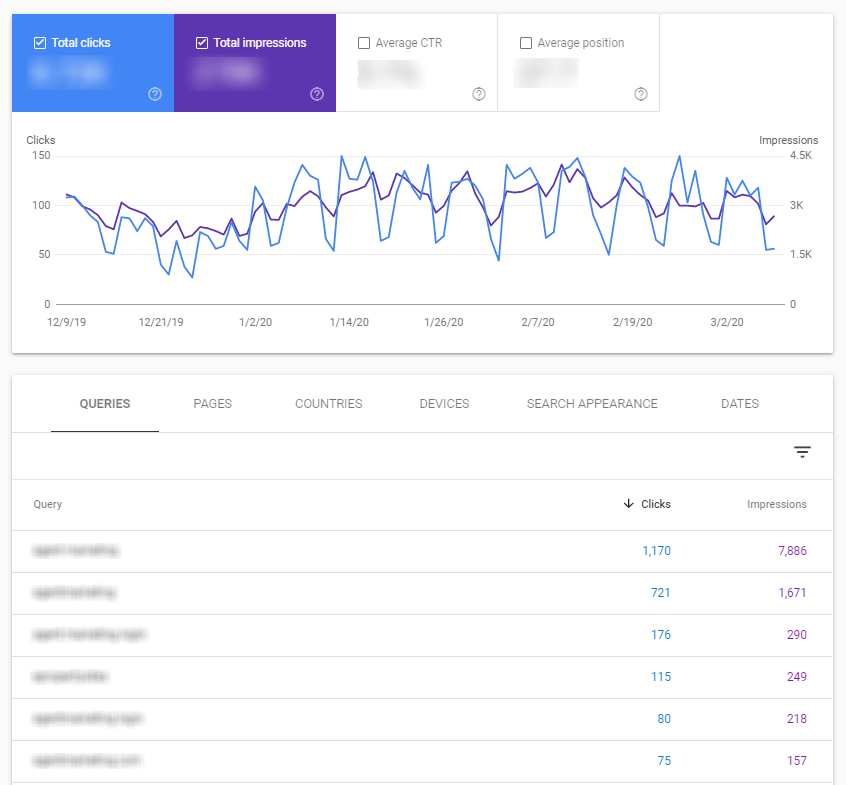
- View Google Search traffic data for your site, including:
- how often your site appears in search results,
- which search queries show your site,
- how often searchers click through for those queries, and more.
- Receive alerts and troubleshoot when Google encounters spam or other issues.
- View which sites link to your website.
- And more!
Simply put, Search Console gives you a direct line to Google which shows you how to make your site better.
And doesn't everyone want a better website?
So, at this point, you have your site, your domain name, and IDX provider. What's next?
Before you can do anything else, you must give credit where credit is due.
You need to create a CNAME…
CNAME stands for Canonical Name Record. At IDX Broker, we refer to it as a custom domain or a subdomain. A CNAME ensures that when a visitor comes to your site and searches for homes, the URL they're going to is your URL and NOT your IDX provider's. That may not seem like a consideration, but it should be. By default, IDX pages hosted by IDX Broker are hosted on our subdomain of idxbroker.com.
For example, if your website address is: http://greatpropertyforsale.com, your IDX pages (home search, saved searches, etc.) have an address looking like this:
http://greatpropertyforsale.idxbroker.com/ (i.e.: http://subdomain.primarydomain.com/)
But it doesn't have to, and it shouldn't be this way.
That's where your CNAME comes in! Your CNAME is what you use to point the IDX pages to your domain instead. You can implement a custom domain of your choosing. This changes your links to: http://yourchoice.greatpropertyforsale.com/
Creating a CNAME for your site is the first step to boosting SEO value and to tracking your Google Search presence for both your primary website pages and your hosted IDX pages. Search Console cannot help you track these pages until you set up a subdomain.
For quick and easy step-by-step instructions on how to set up your custom domain/CNAME, visit our knowledgebase. It won't take more than a few minutes! Once your CNAME is created…
It's time to add and verify your property in Google Search Console!
In this case "property" doesn't mean your newest real estate listing, but rather your website. Registering your site(s) in Google Search Console couldn't be easier!
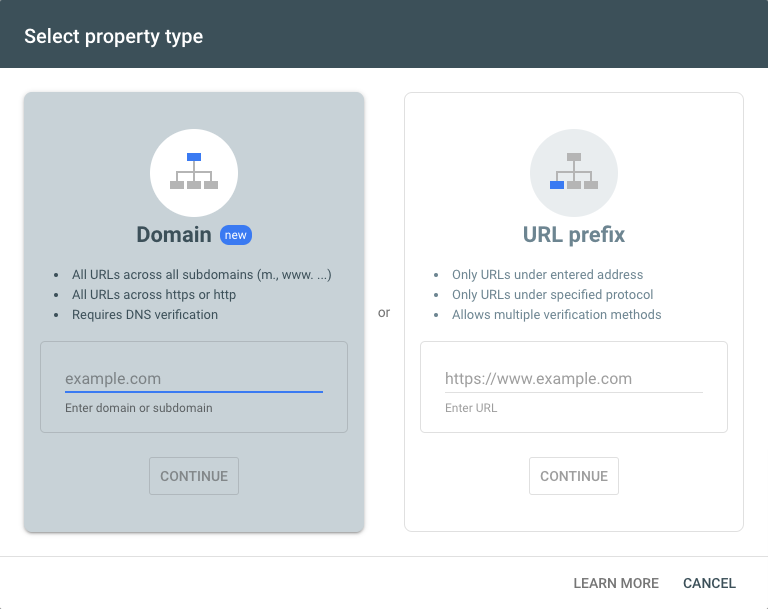
Once logged into your Google account, visit Search Console and select Add property in the top left-hand corner. If you're brand new to Google Search Console, you'll automatically be prompted to add a URL. Start by selecting the property type:
- URL-prefix property
- Domain property
Select Domain, add your domain name – e.g., greatpropertyforsale.com and click Continue.
A domain property aggregates the data for all subdomains of the property. For example, the data for the domain property "greatpropertyforsale.com" would include greatpropertyforsale.com, home-search.greatpropertyforsale.com, condos.greatpropertyforsale.com, etc.
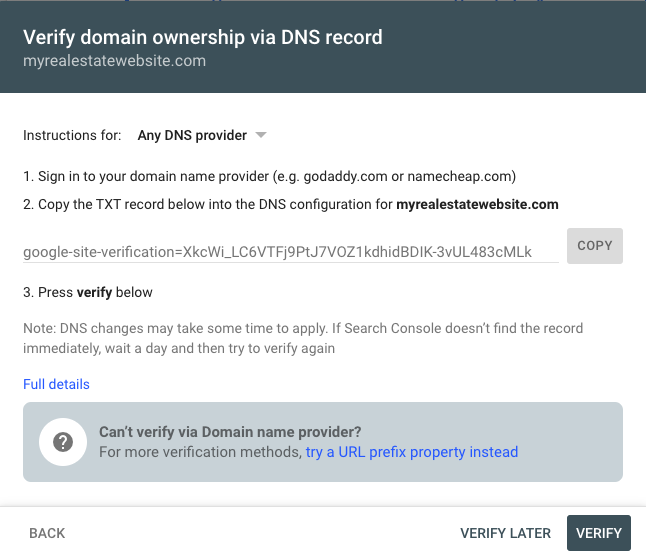
For a Domain Property, Domain Name System (DNS) verification is the only method which is supported.
Sounds intimidating, but we promise it's not.
In the verification instructions, you'll see two options. If your domain registrar is listed in the DNS Provider drop-down, you'll be walked through an easy automated process to verify your site. For example, if your DNS provider is GoDaddy, choose it from the list and click Start verification.
This will lead you to their login page where you'll need the credentials for your GoDaddy account. After logging in, click Authorize and you'll be redirected back to Search Console.
If the verification doesn't work immediately, don't worry! Just wait a few hours or a day and try verifying again by choosing it from the properties list. Sometimes DNS record changes can be slow.
If your domain name provider is not on the list, you'll need to follow more detailed written instructions.
Start by copying the text record displayed in Step 2. Then click "full details" to open the Help Center – there you'll see the full process documented.
Once your property is verified, data should begin to appear in a few days. Data collection starts as soon as the property is added, and it continues as long as any user has that property in their account – whether or not it has a verified owner. If your property has no data several days after verification, it's possible the site hasn't been seen in Google Search.
That's why you need to help Google help you.
How? By submitting your sitemap!
A sitemap is a file where you provide information about the pages, videos, and other files on your site, and the relationships between them. Search engines like Google read this file to more intelligently crawl your site.
There are a few kinds of sitemaps – including text and XML – but what's the difference?
A text sitemap could be used by people like you and me, while an XML is designed specifically for the search engine crawlers. XML sitemaps give search engines a headstart when it comes to finding your pages. Of course, the bots would eventually be able to crawl and find all of your content, but an XML sitemap shows them what to expect so that they don't have to go hunting for all the links on your website(s). XML sitemaps can also provide metadata – meaning when your pages were last modified.
XML sitemaps are extremely valuable for boosting your SEO. Google ranks individual pages, not domains – a common misconception. By submitting an XML sitemap, you are giving search engines a full list of your available pages in a simplified list format. While an XML sitemap isn't required, it is a best practice for SEO optimizers.
So how do you create your XML sitemap(s)?
Creating the XML sitemap for your domain can either be done manually or by a third-party generator (definitely the preferable method). For example, if you have a WordPress Site, you could install and activate the WordPress SEO by Yoast plugin, enable XML sitemap functionality and save your settings.
But, for your CName, we have good news. If you're a client of IDX Broker, the sitemaps (both text and XML) for your IDX pages are automatically created by the IDX system and include categorized links that lead to all of the active listings from your MLS. If you have sold data enabled, sold listings from your MLS will also appear in the sitemap. This means potentially thousands or tens of thousands of indexed property results and details pages.
You will find your Sitemap in your IDX Control Panel under the Designs button, and in the Pages section.
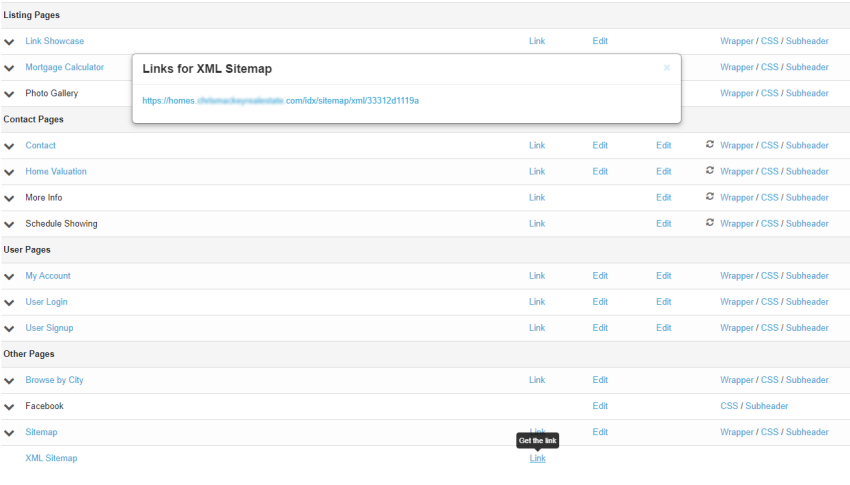
Now that you have the sitemap links, it's time to submit them to Google Search Console.
To reiterate – Google doesn't require sitemaps, but if you submit them, you'll be rewarded for it.
Open the Sitemaps report, enter the relative URL to the sitemap in the Sitemaps report and click Submit!
The sitemap should be processed immediately. However, it can take some time to crawl the URLs listed in a sitemap, and it is possible that not all URLs in a sitemap will be crawled, depending on the site size, activity, traffic, and so on. But, as time goes on, you'll capture more useful data!
Eventually, Google Search Console will help you understand how you stack up online, identify opportunities for improvement and take your real estate marketing to the next level.
We encourage you to set up your site in Google Search Console! It's free, and it's an SEO boost you can do today… right now! Don't let another moment of your online marketing efforts go to waste.
In Part 2 of our series, we explore what to do with this information once you have it, so stay tuned!
To view the original article, visit the IDX Broker blog.