You are viewing our site as an Agent, Switch Your View:
Agent | Broker Reset Filters to Default Back to ListCustomize Your RPR Report Cover Photo with These Simple Steps
October 30 2019
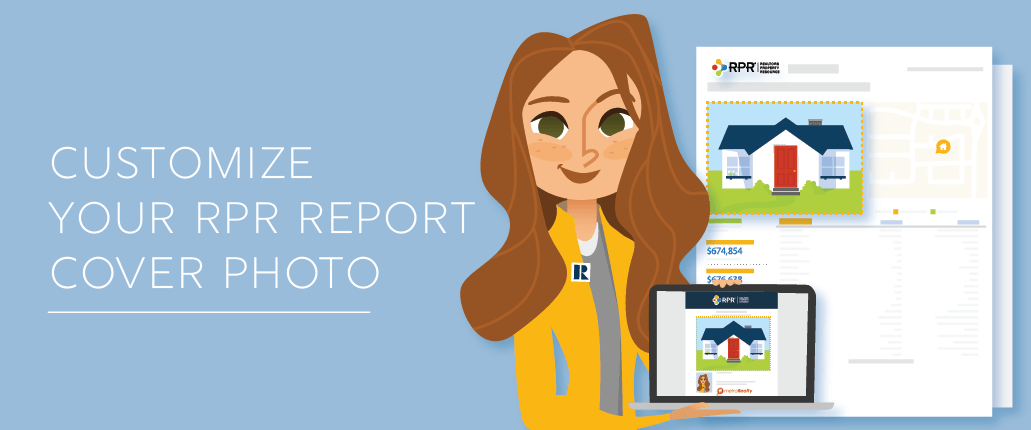
 It's often said that, "You only get one chance to make a first impression." That couldn't be more true than in the real estate industry. So when you find yourself sharing a report with a less than flattering cover photo, take a moment to update it. The process is quick and simple, and can be done from the website or mobile app. RPR makes it easy to do so—here's how.
-
Locate the digital photo you would like to use on your report cover
-
Login to narrpr.com and search for a subject property
-
Select Enter
-
Now to upload the new photo. The steps are different depending on whether you are using the RPR website or app:
From the RPR Website
- On the RPR property details page, scroll down to Property Notes and select Upload Photos
- Select the photos you want to upload
- Choose Edit and then select Use for report covers
- Lastly, choose Save
In the RPR app
- On the RPR property details page, tap Notes
- Next tap Add a Photo
- You'll have two choices: Take a Photo, or Select from Album.
- Choose Edit
- Tap on the Report Cover option
- Lastly, choose Update to save
-
Now onto creating your report. The process is similar on the website and mobile app. You'll either select the Get a Report button or Add a Report. Then select a report, such as the Mini-Property, Property or Seller's Report
-
Choose which elements to include in the report by clicking More Details
-
Follow the steps to create a report
Congrats! You're report will now feature the newly uploaded cover photo image.
To view the original article, visit the RPR blog.


