
RETECHNOLOGY PREMIUM MARKETPLACE RELATED PRODUCTS | WEBINARS | SPECIAL OFFERS


You are viewing our site as an Agent, Switch Your View:
Agent | Broker Reset Filters to Default Back to List10 Steps to Create a Custom Presentation in Google Slides
April 08 2018
 Meeting with new leads is exciting. Creating the materials you need to convert those leads... not so much. Even real estate agents are not exempt from the sometimes tedious task of creating presentations. But there's good news. Whether you need to create a listing presentation, first-time homebuyer seminar, or just a simple introduction to get things moving, there's technology to help you create professional presentations. Google Slides is one of these tools.
Google Slides is one of the free tools included with every free Gmail account. It makes creating, editing, and sharing your presentations with collaborators easy from any device. To learn more about the free tools offered by Google, check out our articles on Google Keep, Google My Maps, Google Allo, Google Drive, and Gmail.
For more information about using Google Slides, read on for step-by-step instructions to help you create and save a personalized theme that reflects your business and branding.
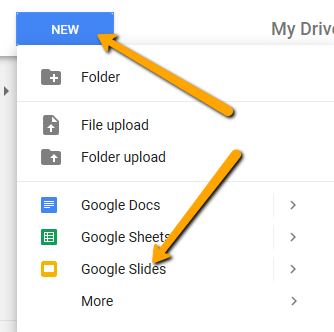
Step 1: Create a new Google slide
Go to drive.google.com and click "NEW" to start a new Google Slides presentation.
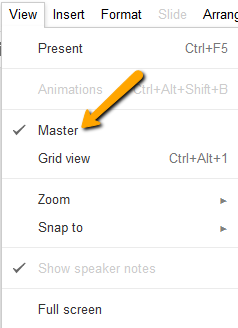
Step 2: Open master file
Click on the "View" option and select "Master." This is where you can create and customize your theme.
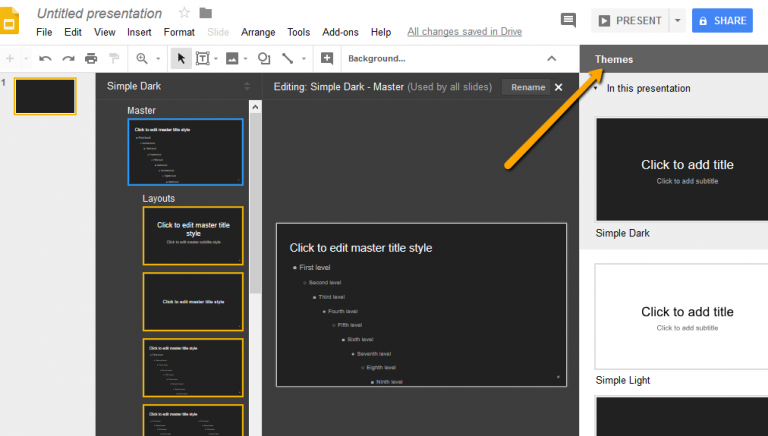
Step 3: Choose a base theme
Pick the theme that's most similar to what you want. You can tweak colors, fonts, and other details afterward.
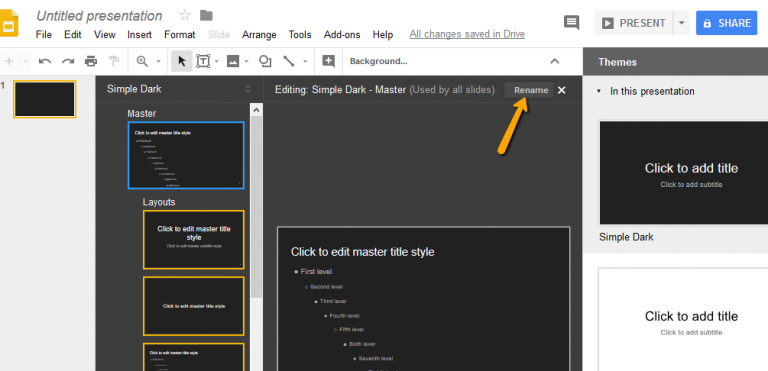
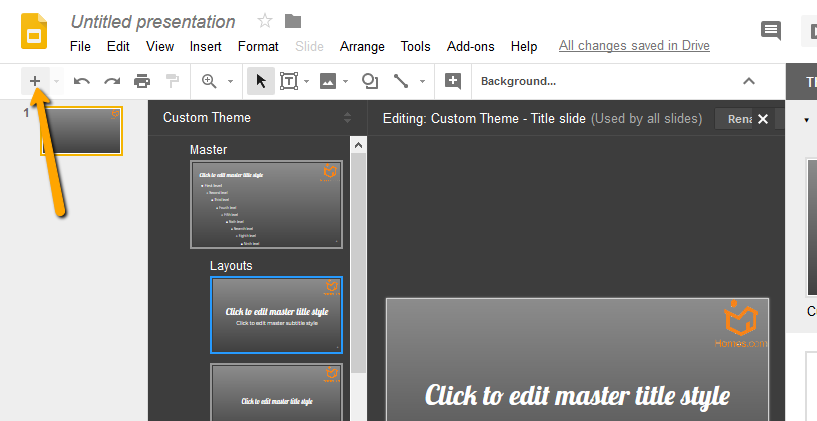
Step 4: Rename your theme
Give your theme a name to differentiate it from the base theme.
Step 5: Edit the master slide
Changes you make to the master slide will apply to your whole theme. Use this to add information like your logo, business name, or phone number to every slide. You can also do things like choose different fonts, change colors, and make different header choices that you want to apply across the board.
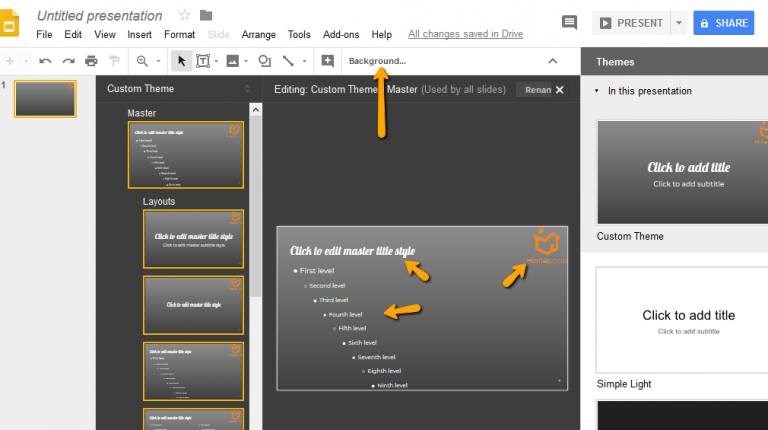
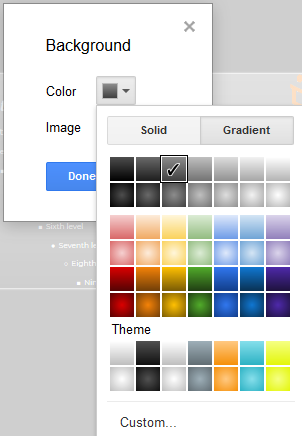
Click the "Background..." button in the menu to change your theme's background. This button will appear when you click the empty area above your master slide. You can choose a solid color, a gradient, or upload an image to serve as your theme's background.
Step 6: Check your layouts
Once you're happy with your master theme, make sure the changes you've applied look good on each of your pre-formatted layouts. Adjust the master slide to change the theme across the board or edit individual layouts if the issues are more localized. You can also design and add new layouts for an even more specialized theme.
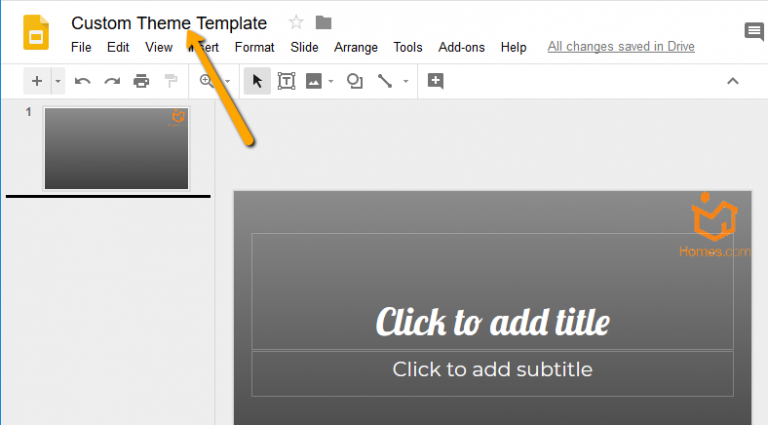
Step 7: Save your theme as a template
You want to be able to use your template again and again. Title your finished theme as a template so you remember not to use this copy as a presentation.
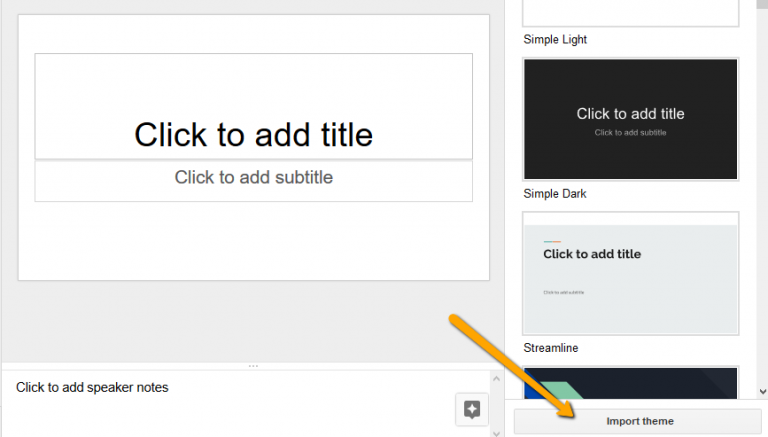
Step 8: Use your template
To access your template, start a new Google Slides presentation and select "Import theme."
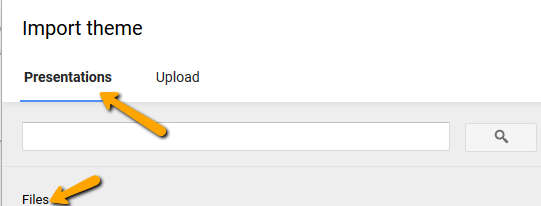
Step 9: Find your template in the "Presentations" section
Either type your template's name in the search bar or scroll through the files to find it.
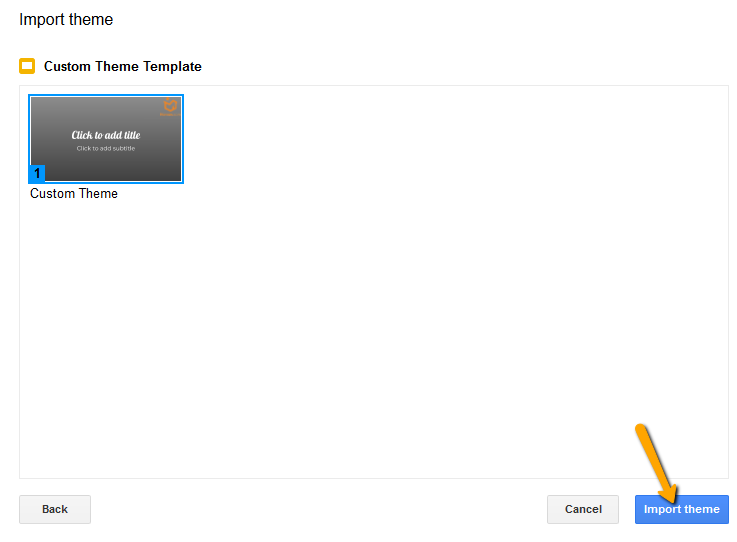
Step 10: Confirm
All that's left is to confirm that you want to import your theme and start adding content!
Sometimes it's the little things like having a custom theme that impresses leads and helps convert them into clients!
To view the original article, visit the Homes.com blog.