
RETECHNOLOGY PREMIUM MARKETPLACE RELATED PRODUCTS | WEBINARS | SPECIAL OFFERS


You are viewing our site as an Agent, Switch Your View:
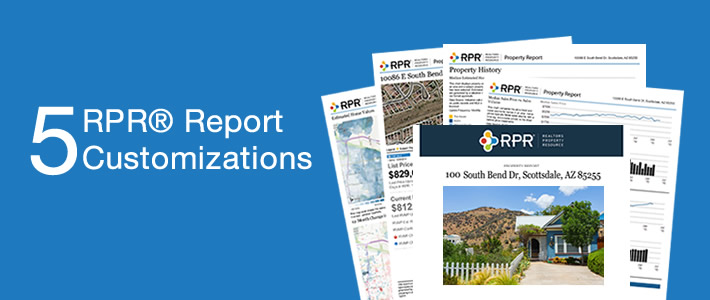
Agent | Broker Reset Filters to Default Back to List5 RPR® Report Customizations You May Not Be Using
September 24 2015
 REALTORS® know that each client has specific needs and interests when it comes to buying or selling a home. Some clients want the complete backstory to a property, while other clients may simply want the basics on a neighborhood. RPR allows REALTORS® to tailor each report according to these client expectations, starting with these five useful report customizations:
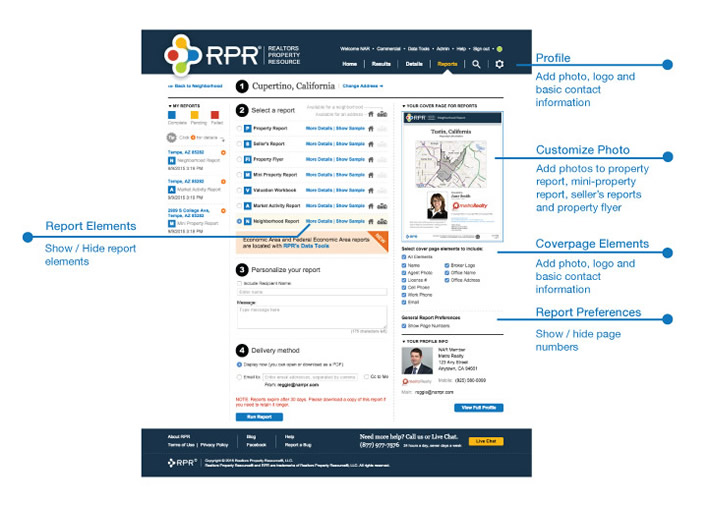
1. Report elements
Is your client already familiar with the area and not interested in neighborhood demographics? Are school test scores and parent reviews not relevant? One of the most frequently used report customizations is the ability to hide page elements from a report. To do so, visit the report generation page and choose "More Details." Then simply uncheck an item to hide. If you're not sure what a particular item represents, hover your mouse over the blue information icon to the right and you will see a quick preview of the section.
2. Cover page elements
You already know that each RPR report includes your complete contact information, photo and logo. But you might not have run across the option to display a particular combination of contact info. Use the cover page elements section found on the right-side of the reports generation page to display only the elements you want.
3. Page numbers
An easy step, but important nonetheless if you intend to merge your report into a larger presentation or maybe add custom pages into the report. To add pages without showing incorrect page numbers in the footer, simply turn off the page numbering option found on the right-side of the report generation page.
4. Updated profile
This section allows you to update your photo, logo and contact information as well as the ability to designate your "MLS info," "Mobile Devices" and "Assistant Users." Take a moment to update your Profile by selecting the sprocket icon found at the top right corner of the site. Doing so will ensure your report's cover page is fully branded with your important contact information.
5. Upload custom photos
Customizing the cover page photo of your next Property or Seller's report is easy. From the property detail page, select "Upload Photos" and then "Browse for Photos." Select the photo(s) you want to upload. Choose "Edit" and then press the button that reads "Use for report covers." Lastly, choose "Update" to save. Now when you create a Property or Seller's report, the newly added photo will be displayed on the cover. All other added pictures will be included in the photos section of the report.
To view the original article, visit the RPR blog.